背の小さい順や成績の悪い順で、座席を割り振りたいケースがあると思います。
今回は生徒の名簿一覧から背の順で座席を割り振る方法を紹介させて頂きます。
SeatingChart.zip
1 file(s) 23.25 KB
このエクセルファイルの作り方
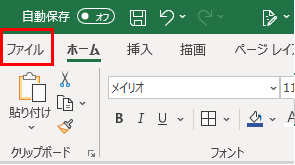
①マクロを使えるようにする
「マクロを使えるようにする」を参照
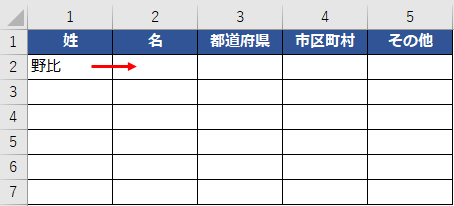
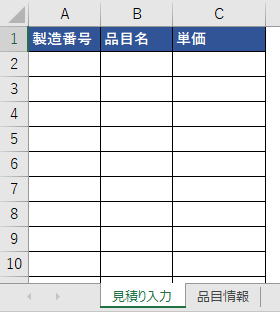
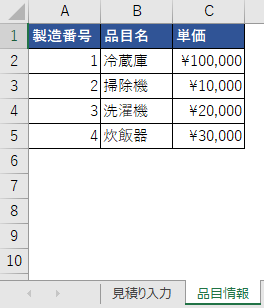
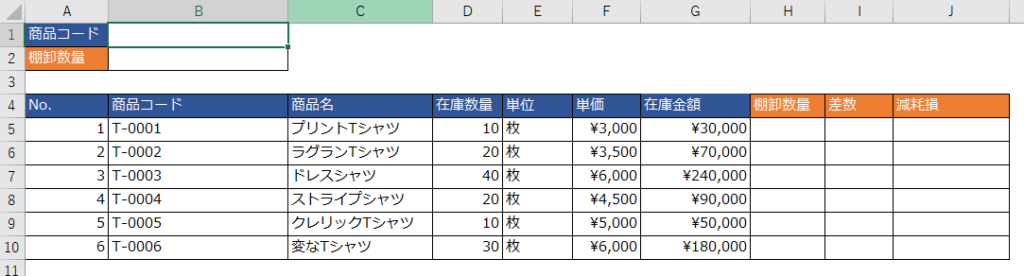
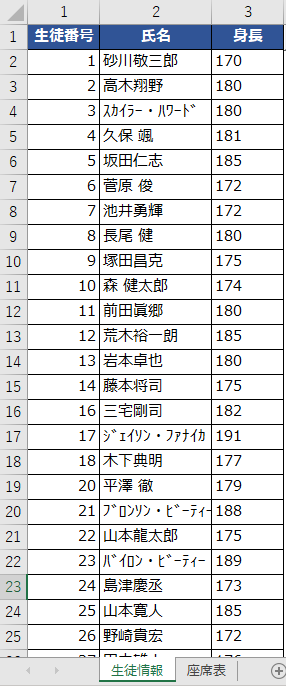
②生徒情報の表を作成
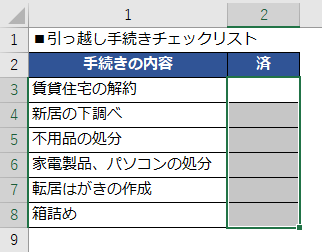
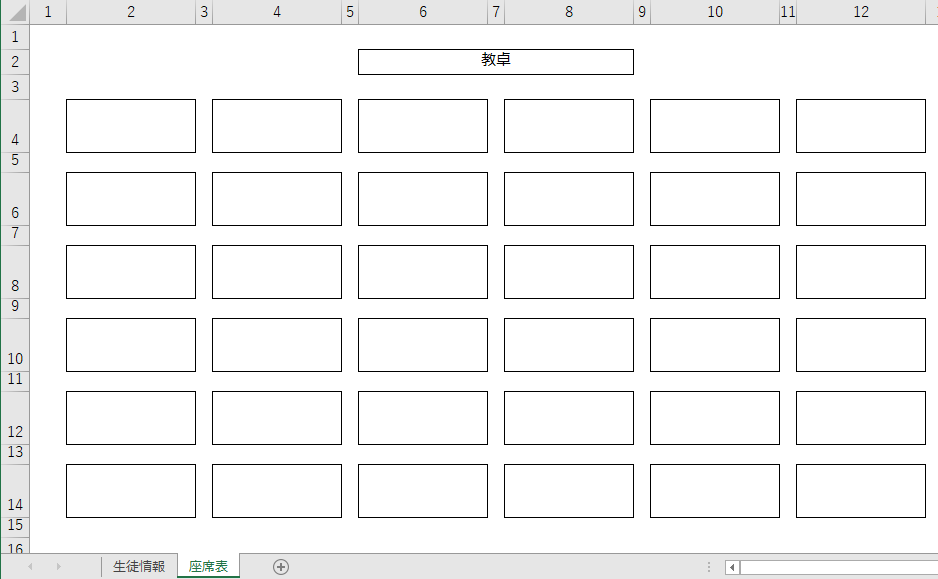
③座席表を作成
④席決め配置ボタンを配置する
※ ボタンの配置方法は「表を複数の条件で絞り込む②」を参照
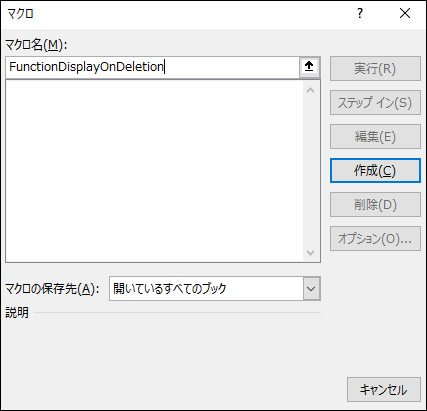
⑤ボタン配置時の以下の画面で「マクロ名」を「 StartSeatSelection 」として「新規作成」を押す
⑥「Microsoft Visual Basic for Applications」にて以下のコードを記載
Sub StartSeatSelection()

Dim noCol As Integer: noCol = 1 '★
Dim nameCol As Integer: nameCol = 2 '★
Dim heightCol As Integer: heightCol = 3 '★

Dim startRow As Integer: startRow = 2 '★
Dim lastRow As Integer: lastRow = ActiveSheet.UsedRange.Row + ActiveSheet.UsedRange.Rows.Count - 1

Dim studentList As Dictionary
Set studentList = New Dictionary

Dim tempStudentList As Dictionary
Set tempStudentList = New Dictionary

'「生徒情報」シートの内容を1行ずつ読み込み、studentListに身長順で格納します。
For i = startRow To lastRow Step 1

    Set tempStudentList = studentList
    Set studentList = New Dictionary

    Dim no As String
    no = Cells(i, noCol).Value
    Dim name As String
    name = Cells(i, nameCol).Value
    Dim height As String
     height = Cells(i, heightCol).Value

    If IsEmpty(no) Then
        MsgBox "生徒番号が空欄です。"
    End If
    If Not IsNumeric(no) Then
        MsgBox no & ":生徒番号には数値を指定してください。"
    End If

    If IsEmpty(name) Then
        MsgBox "氏名が空欄です。"
    End If

     If IsEmpty(height) Then
        MsgBox "身長が空欄です。"
    End If
    If Not IsNumeric(height) Then
        MsgBox height & ":身長には数値を指定してください。"
    End If

    If tempStudentList.Count > 0 Then
        For Each tempStudent In tempStudentList.Items
            If (tempStudent(2) > height Or (tempStudent(2) = height And tempStudent(0) > no)) And Not studentList.Exists(no) Then
                studentList.Add no, Array(no, name, height)
            End If

            studentList.Add tempStudent(0), Array(tempStudent(0), tempStudent(1), tempStudent(2))
         Next tempStudent
    End If


    If Not studentList.Exists(no) Then
        studentList.Add no, Array(no, name, height)
    End If

Next

'studentListを基に、座席に名前をあてはめます。

Dim startSheetRow As Integer: startSheetRow = 4 '★
Dim lastSheetRow As Integer: lastSheetRow = 14 '★
Dim startSheetCol As Integer: startSheetCol = 2 '★
Dim lastSheetCol As Integer: lastSheetCol = 12 '★

Dim targetRow As Integer
Dim targetCol As Integer

Dim studentListCnt As Integer: studentListCnt = 0 '★

For targetRow = startSheetRow To lastSheetRow Step 2
    For targetCol = startSheetCol To lastSheetCol Step 2

    Worksheets("座席表").Cells(targetRow, targetCol).Value = studentList.Items(studentListCnt)(1)
    studentListCnt = studentListCnt + 1

    Next targetCol

Next targetRow

End Sub